Deploy on cpanel hosting server #
Follow this guide to deploy the SigmaDocs Next.js frontend and Express.js CMS backend on a cPanel hosting server.
If your cPanel does not include Setup Node.js App or Application Manager, refer to the NO_NODE_MANAGER_DEPLOY.md guide included with the package.
📦 Upload the Backend Package #
Upload cms-backend-cpanel.zip through cPanel File Manager and extract it into your application folder.
/home/YOUR_CPANEL_USER/public_html/CMS Backend Folder Structure #
src/
database/
scripts/
postman/
ecosystem.config
.htaccess.passenger
app.js
package.json
package-lock.json
🖥 Upload the Frontend Package #
Upload cms-frontend-cpanel.zip through cPanel File Manager and extract it into the public_html folder.
/home/YOUR_CPANEL_USER/public_html/Next.js Frontend Folder Structure #
index.html
404.html
[...slug]/
admin/
_next/
images/
favicon.ico
favicon-*.png
apple-touch-icon.png
android-chrome-512x512.png
mstile-150x150.png
.htaccess
robots.txt
🗄 Create an Empty MySQL Database #
Create a new MySQL database before opening the SigmaDocs browser installer.
Step 1 #
Log in to cPanel and open MySQL Databases.
Step 2 #
Create a new database. For example, you can use cpaneluser_docs.
cpaneluser_docsStep 3 #
Create a new database user or assign an existing database user.
Step 4 #
Add the database user to the database and enable All Privileges.
Step 5 #
Keep the database name, database username, and password ready. You will need them during the browser installation.
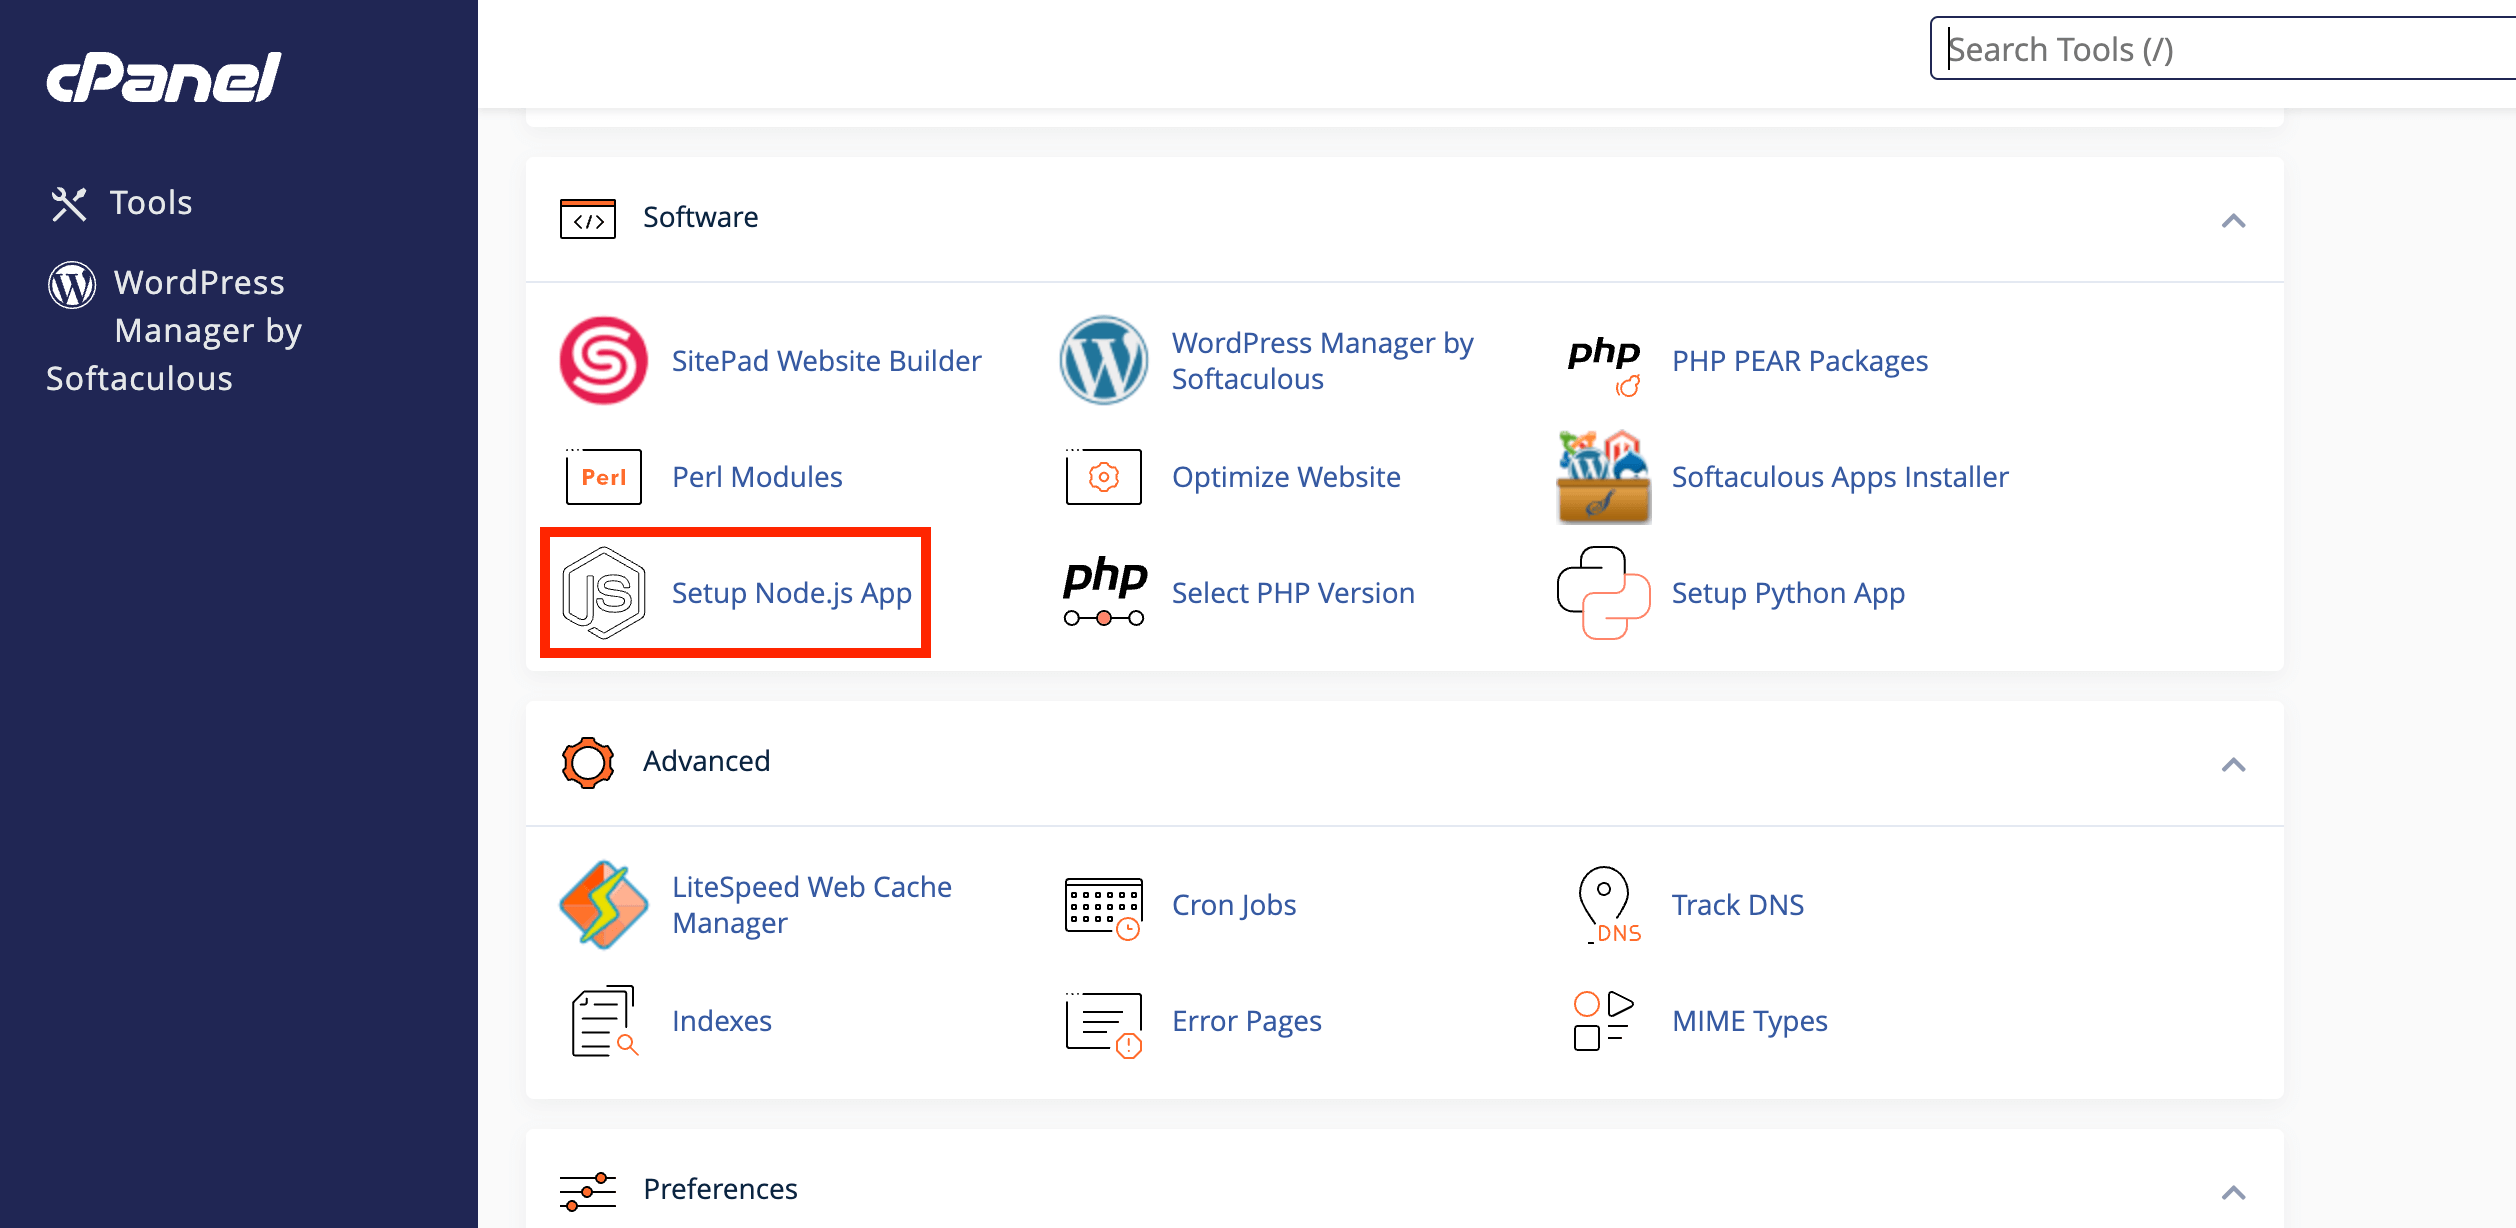
⚙️ Create the Node.js Application #
Use either Application Manager or Setup Node.js App, depending on the option available in your cPanel account.
Skip this section and follow NO_NODE_MANAGER_DEPLOY.md if your hosting account does not provide a Node.js application screen.
option 1: Application Manager Setup #
Register the Application #
Open Application Manager in cPanel and click the Register Application button.
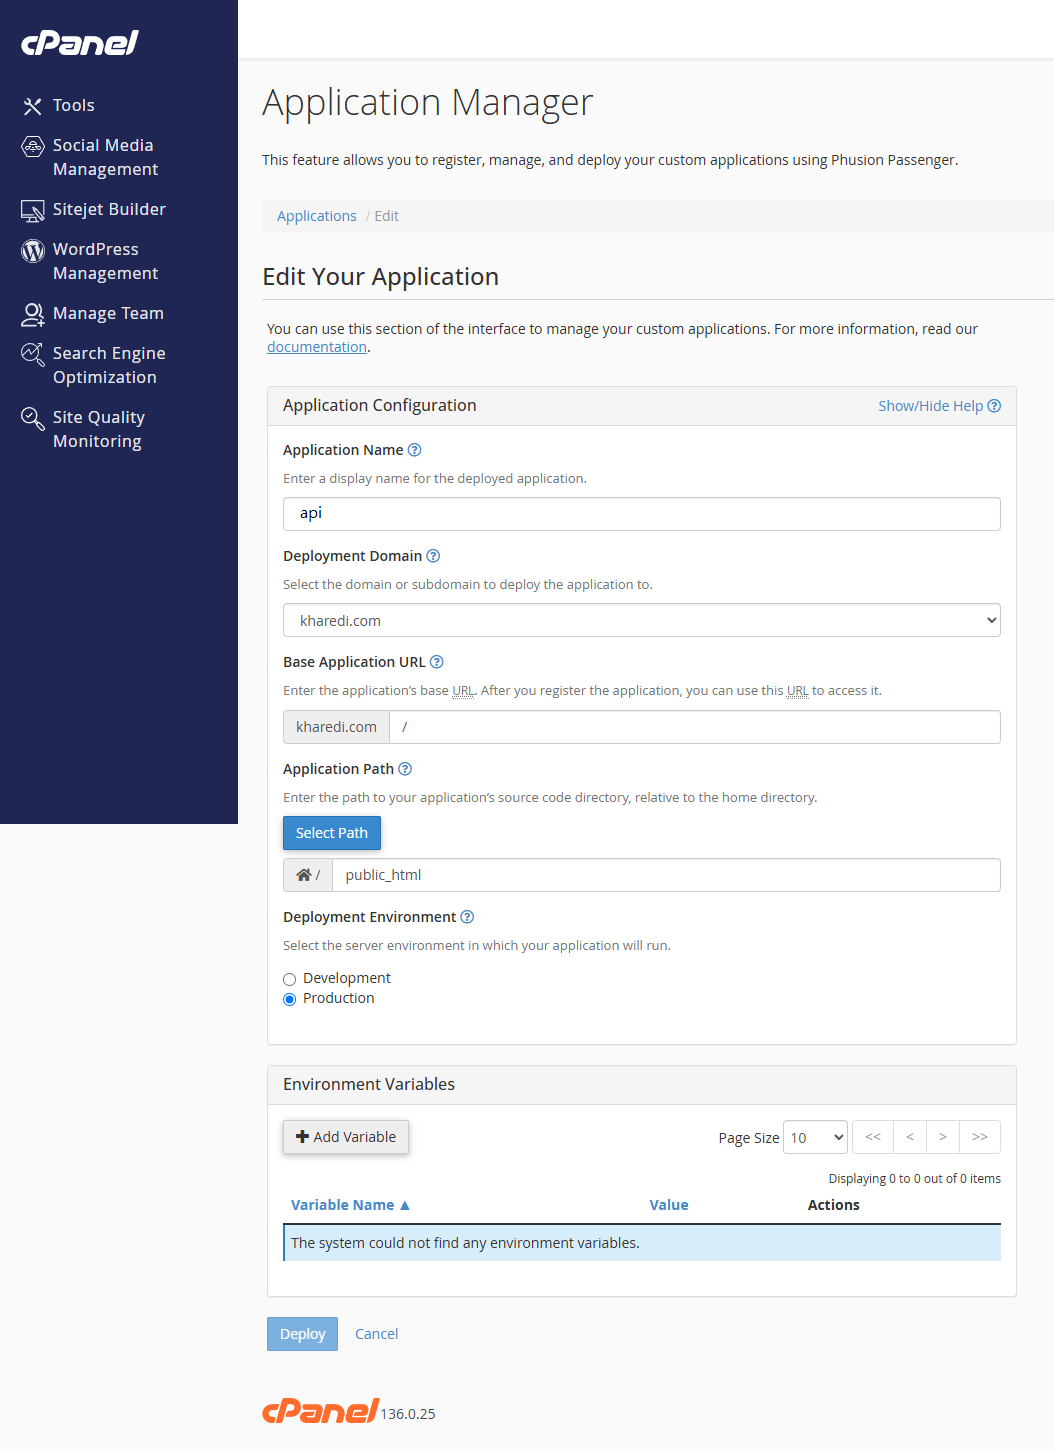
Application Name: api
Deployment Domain: Select your domain
Application Path: Select the public_html folder
Deployment Environment: Production
Step 2: Deploy the Application #
Click the Deploy button. After the application is registered, open it and click Ensure Dependencies.
Your SigmaDocs Express.js backend should now be running on the selected domain or application URL.
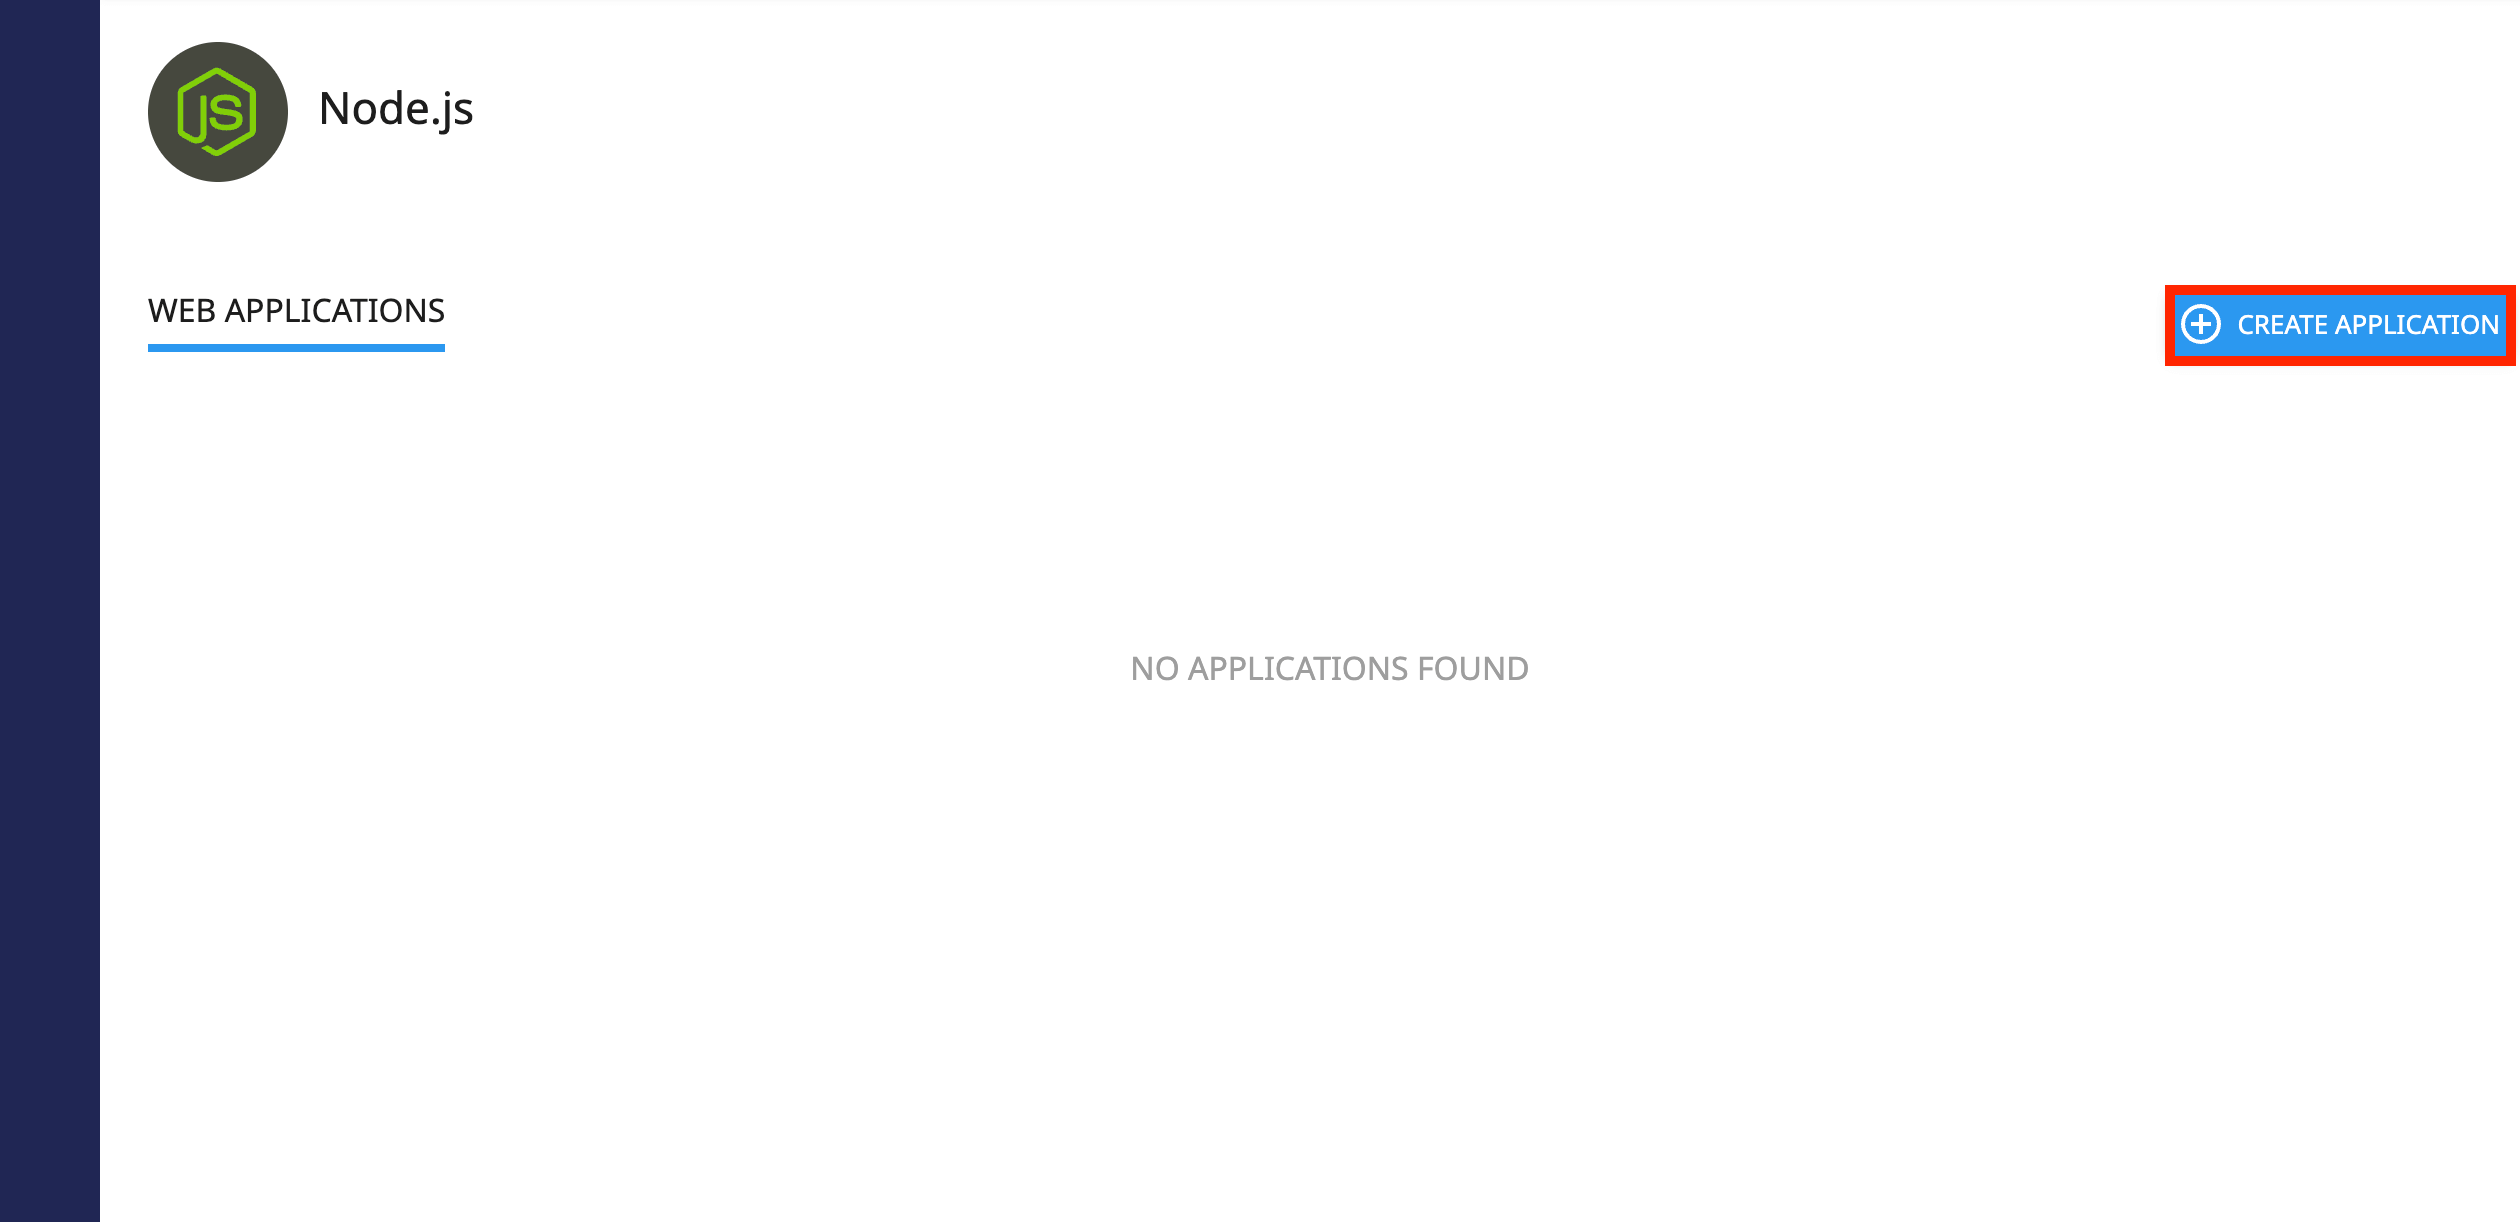
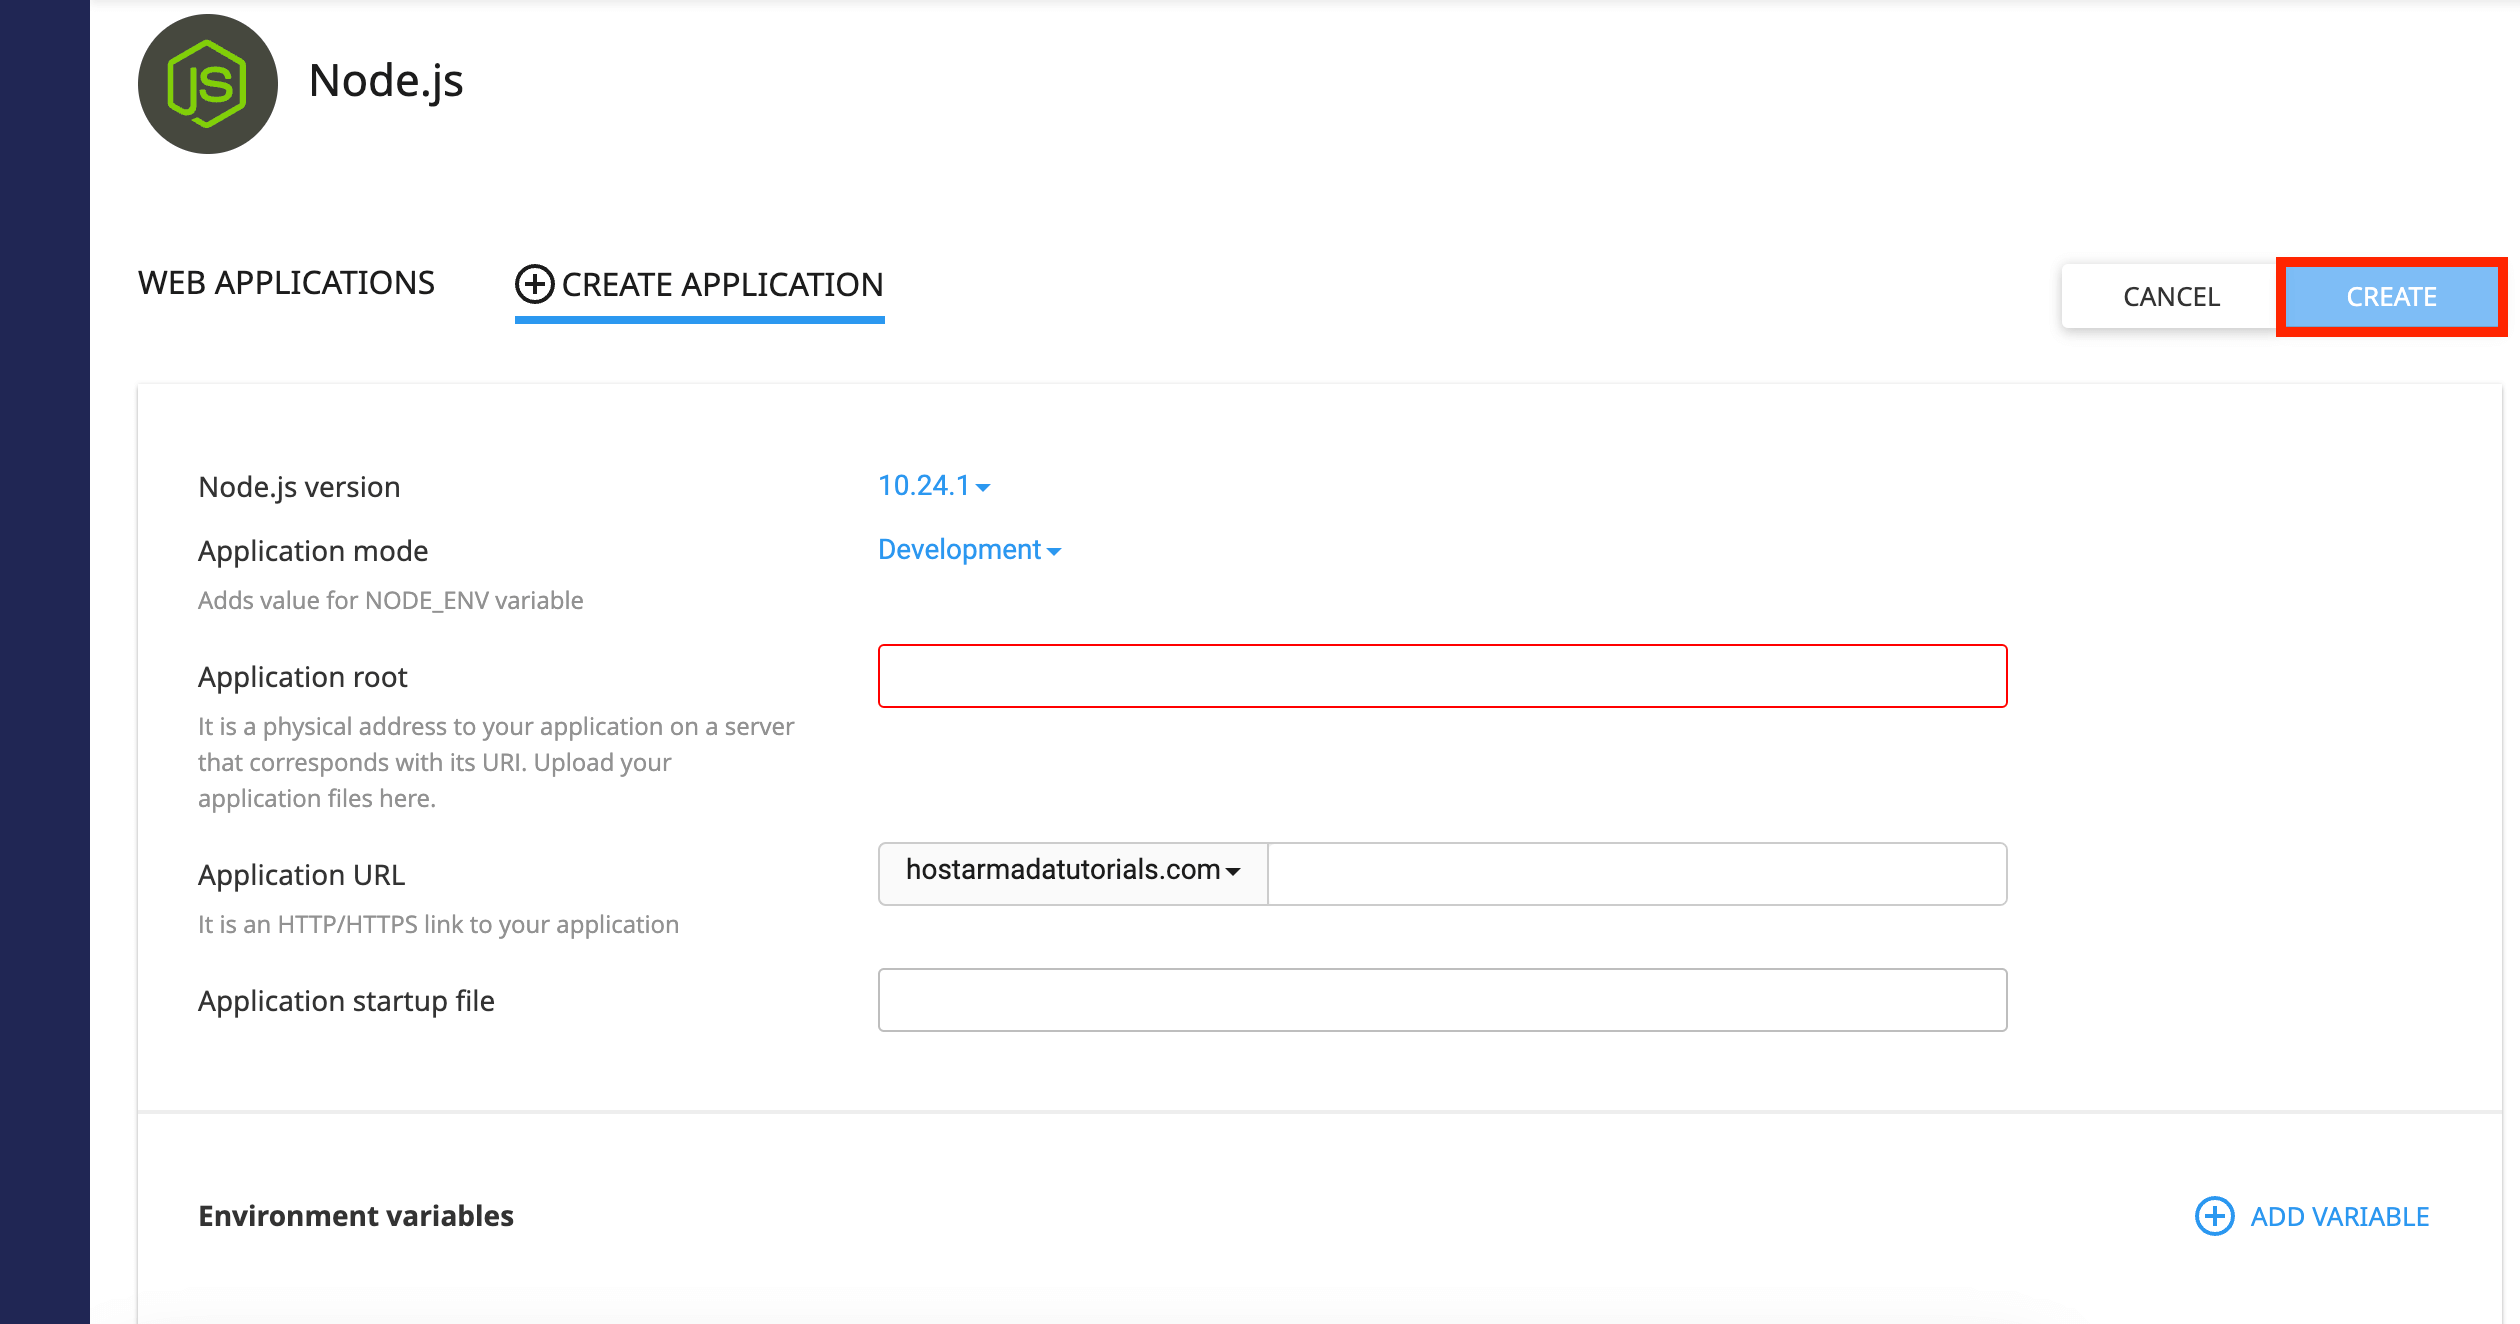
option 2: Setup Node.js App (skip this if have setup Application Manager using option 1) #
If your cPanel provides Setup Node.js App, create a new application using the following configuration.
Node.js version: 20.x or 22.x
Application mode: Production
Application root: public_html
Application URL: Your domain, API subdomain, or application path
Application startup file: app.js
Click Create and wait for cPanel to register the application. Your SigmaDocs backend should now be live.
🌐 Same-Domain Static Next.js Export #
The SigmaDocs frontend package contains a statically exported Next.js application. The frontend files can be served directly from public_html while Express.js handles API and admin requests.
Make sure the included .htaccess file remains inside public_html. It manages frontend routes, static files, API requests, and admin panel routing.
Do not delete or overwrite the included .htaccess file unless you understand the Apache routing configuration.
🧩 Run the Browser Installer #
After the Express.js application starts successfully, open the following URL in your browser.
https://yourdomain.com/api/installThe installer will verify the server, request your database credentials, import the database schema, create the administrator account, generate the required application secrets, and write the .env configuration file.
For security, the installation page becomes unavailable after SigmaDocs has been successfully installed.
🔐 Open the Admin Dashboard #
After completing the installation, use the administrator account created during setup to sign in.
https://yourdomain.com/admin/login✅ Deployment Complete #
SigmaDocs is now installed on your cPanel server. You can sign in to the admin dashboard, configure your website settings, create documentation categories, and start publishing articles.